PRP Physio logo

Ankle Sprain Physiotherapy Brisbane

Ankle Sprain Rehabilitation

Ankle sprains are some of the most common but often underrated injuries regarding their severity. Often you hear of people who just say to “rest it up”, “strap it up”, or “just stay off it and you’ll get better”. This couldn’t be further from the truth. Ankle sprains should be treated with the same approach as we do with any other ligament injury or muscle injury. We should approach treatment intending to maximise your rehabilitation and reduce your risk of re-injury rather than the lackadaisical approach some clients take.

The recurrence rate for ankle injuries has been speculated to be as high as 73%, and a prevalence of 25% for chronic ankle instability with a range between 7% and 53%. I don’t hear many people who have chronically rolling ankles telling me how much they love it, so surely doing a good job of rehabilitation the first time around and minimising your risk is your best bet. Getting an early assessment and diagnosis by a physiotherapist is the first key. My hands-on diagnostic skills are integral, and I can also recommend whether I believe further imaging may be needed. You can read my full guide to sprained ankle recovery.

Common Ankle Sprain Mechanisms

  • Inversion Ankle Sprain

    Inversion ankle sprains are far and away the most common form of ankle sprain that clients present with. Often this could be just an isolated inversion ankle sprain, or it could occur with both inversion and plantarflexion. These sprains can often occur if you land on another person’s foot, land awkwardly from a jump, or land on an uneven surface.
  • Eversion Ankle Sprain

    Eversion ankle sprains are far less common than inversion ankle sprains. These are more often than not isolated to poor landings and requires forcing the foot outwards resulting in injury to the deltoid ligament on the inside of the ankle.
  • Forced Dorsiflexion and Eversion Ankle Sprain

    Unfortunately, this injury appears to be becoming much more common and is often seen in rugby league. Forced dorsiflexion and eversion of the ankle can result in injury to the anterior inferior tibiofibular ligament, the ligament that connects the two malleoli. Often this injury results in surgical input to stabilise the joint.
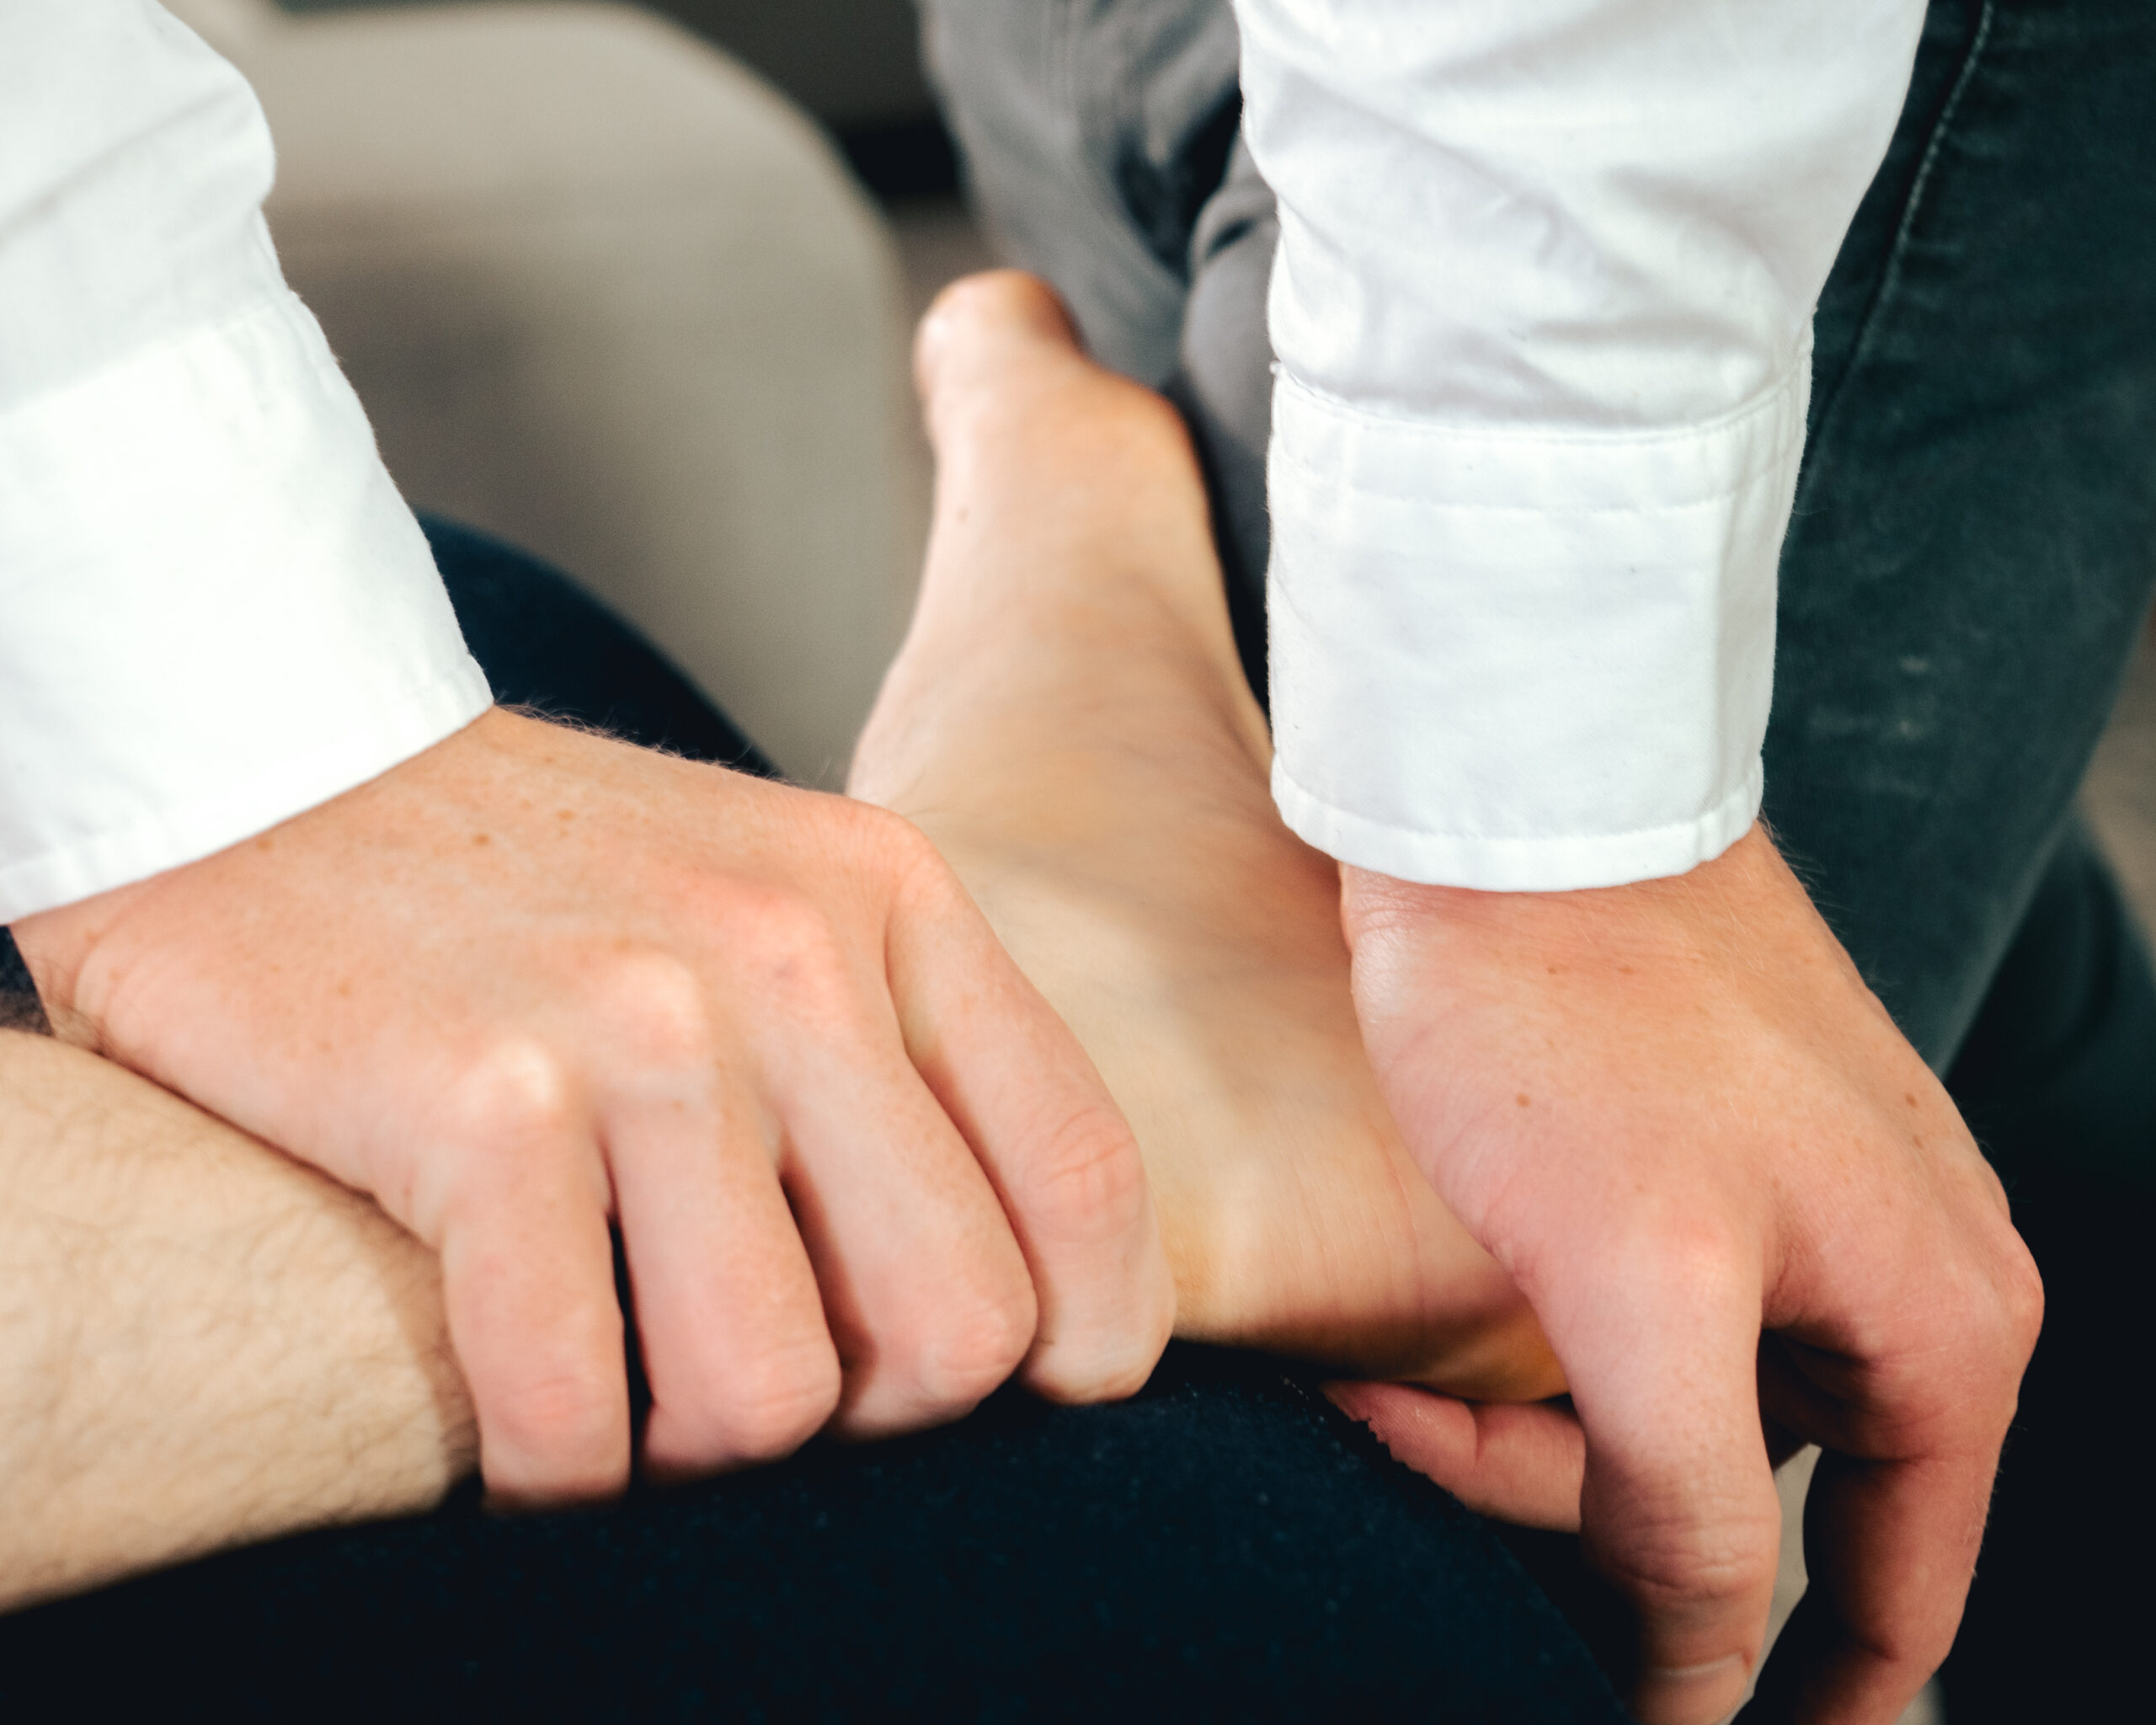
Physiotherapist assessing a client's ankle
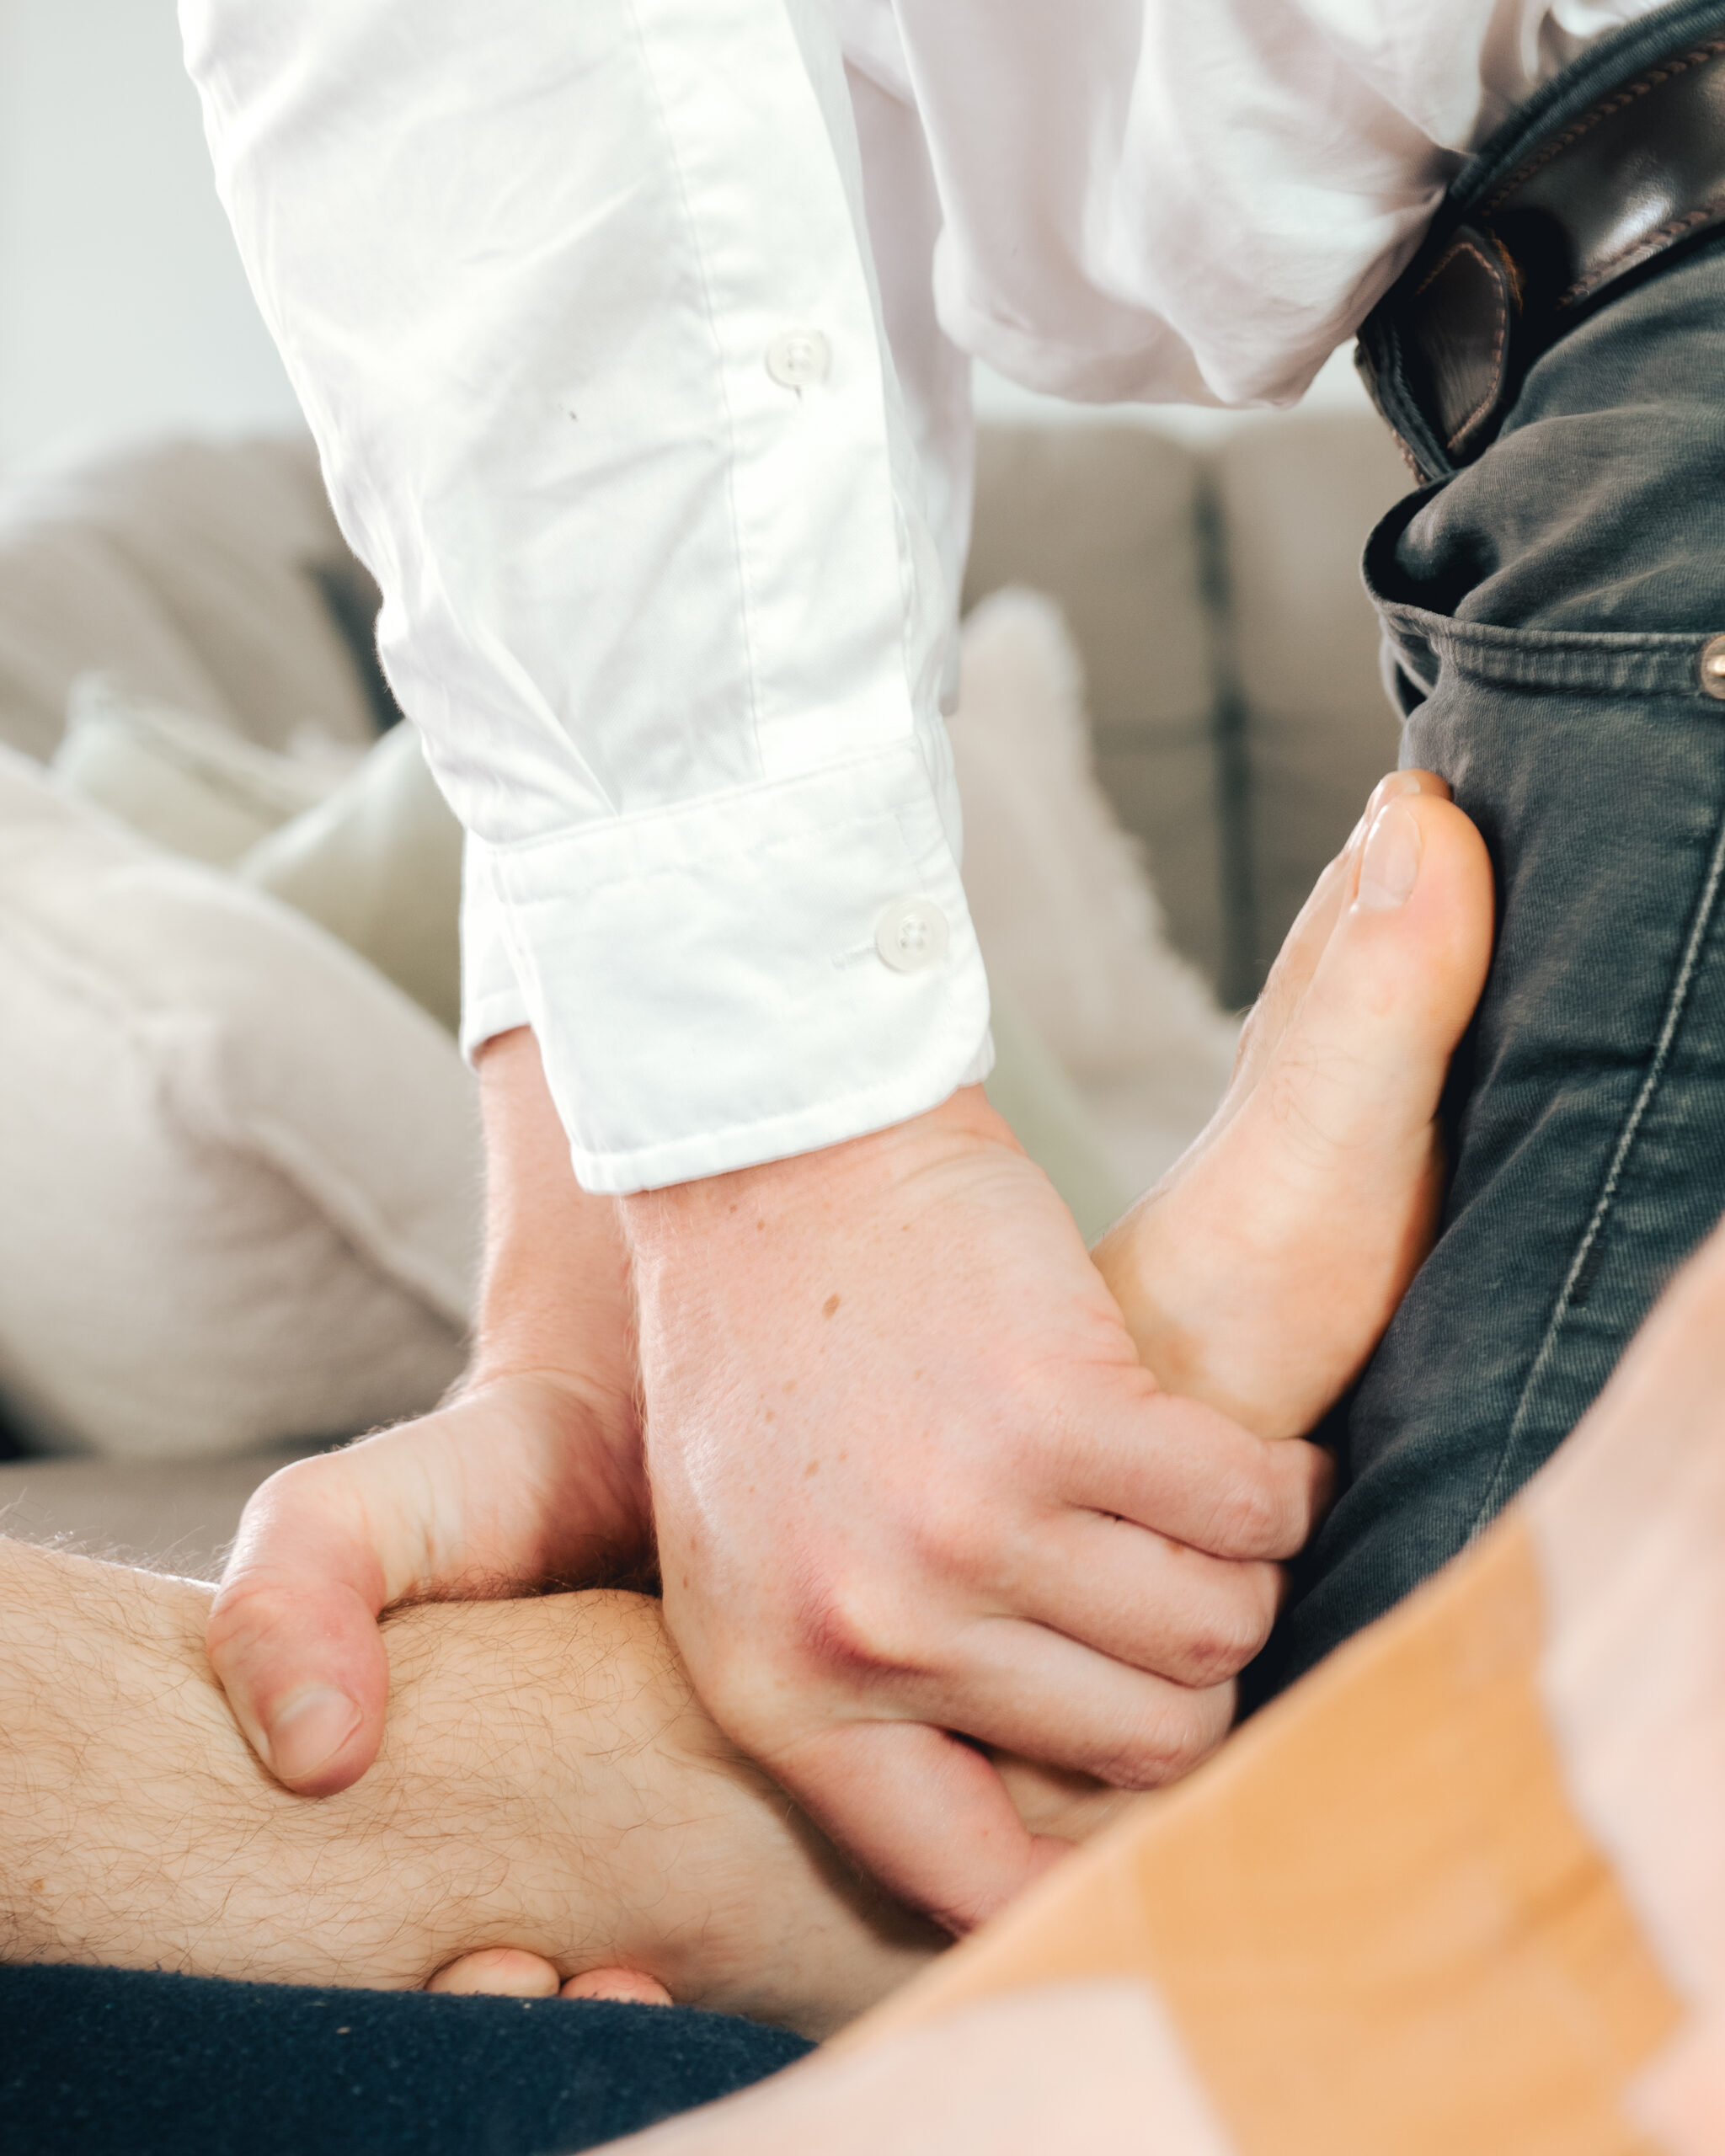
Physiotherapist mobilising a client's ankle
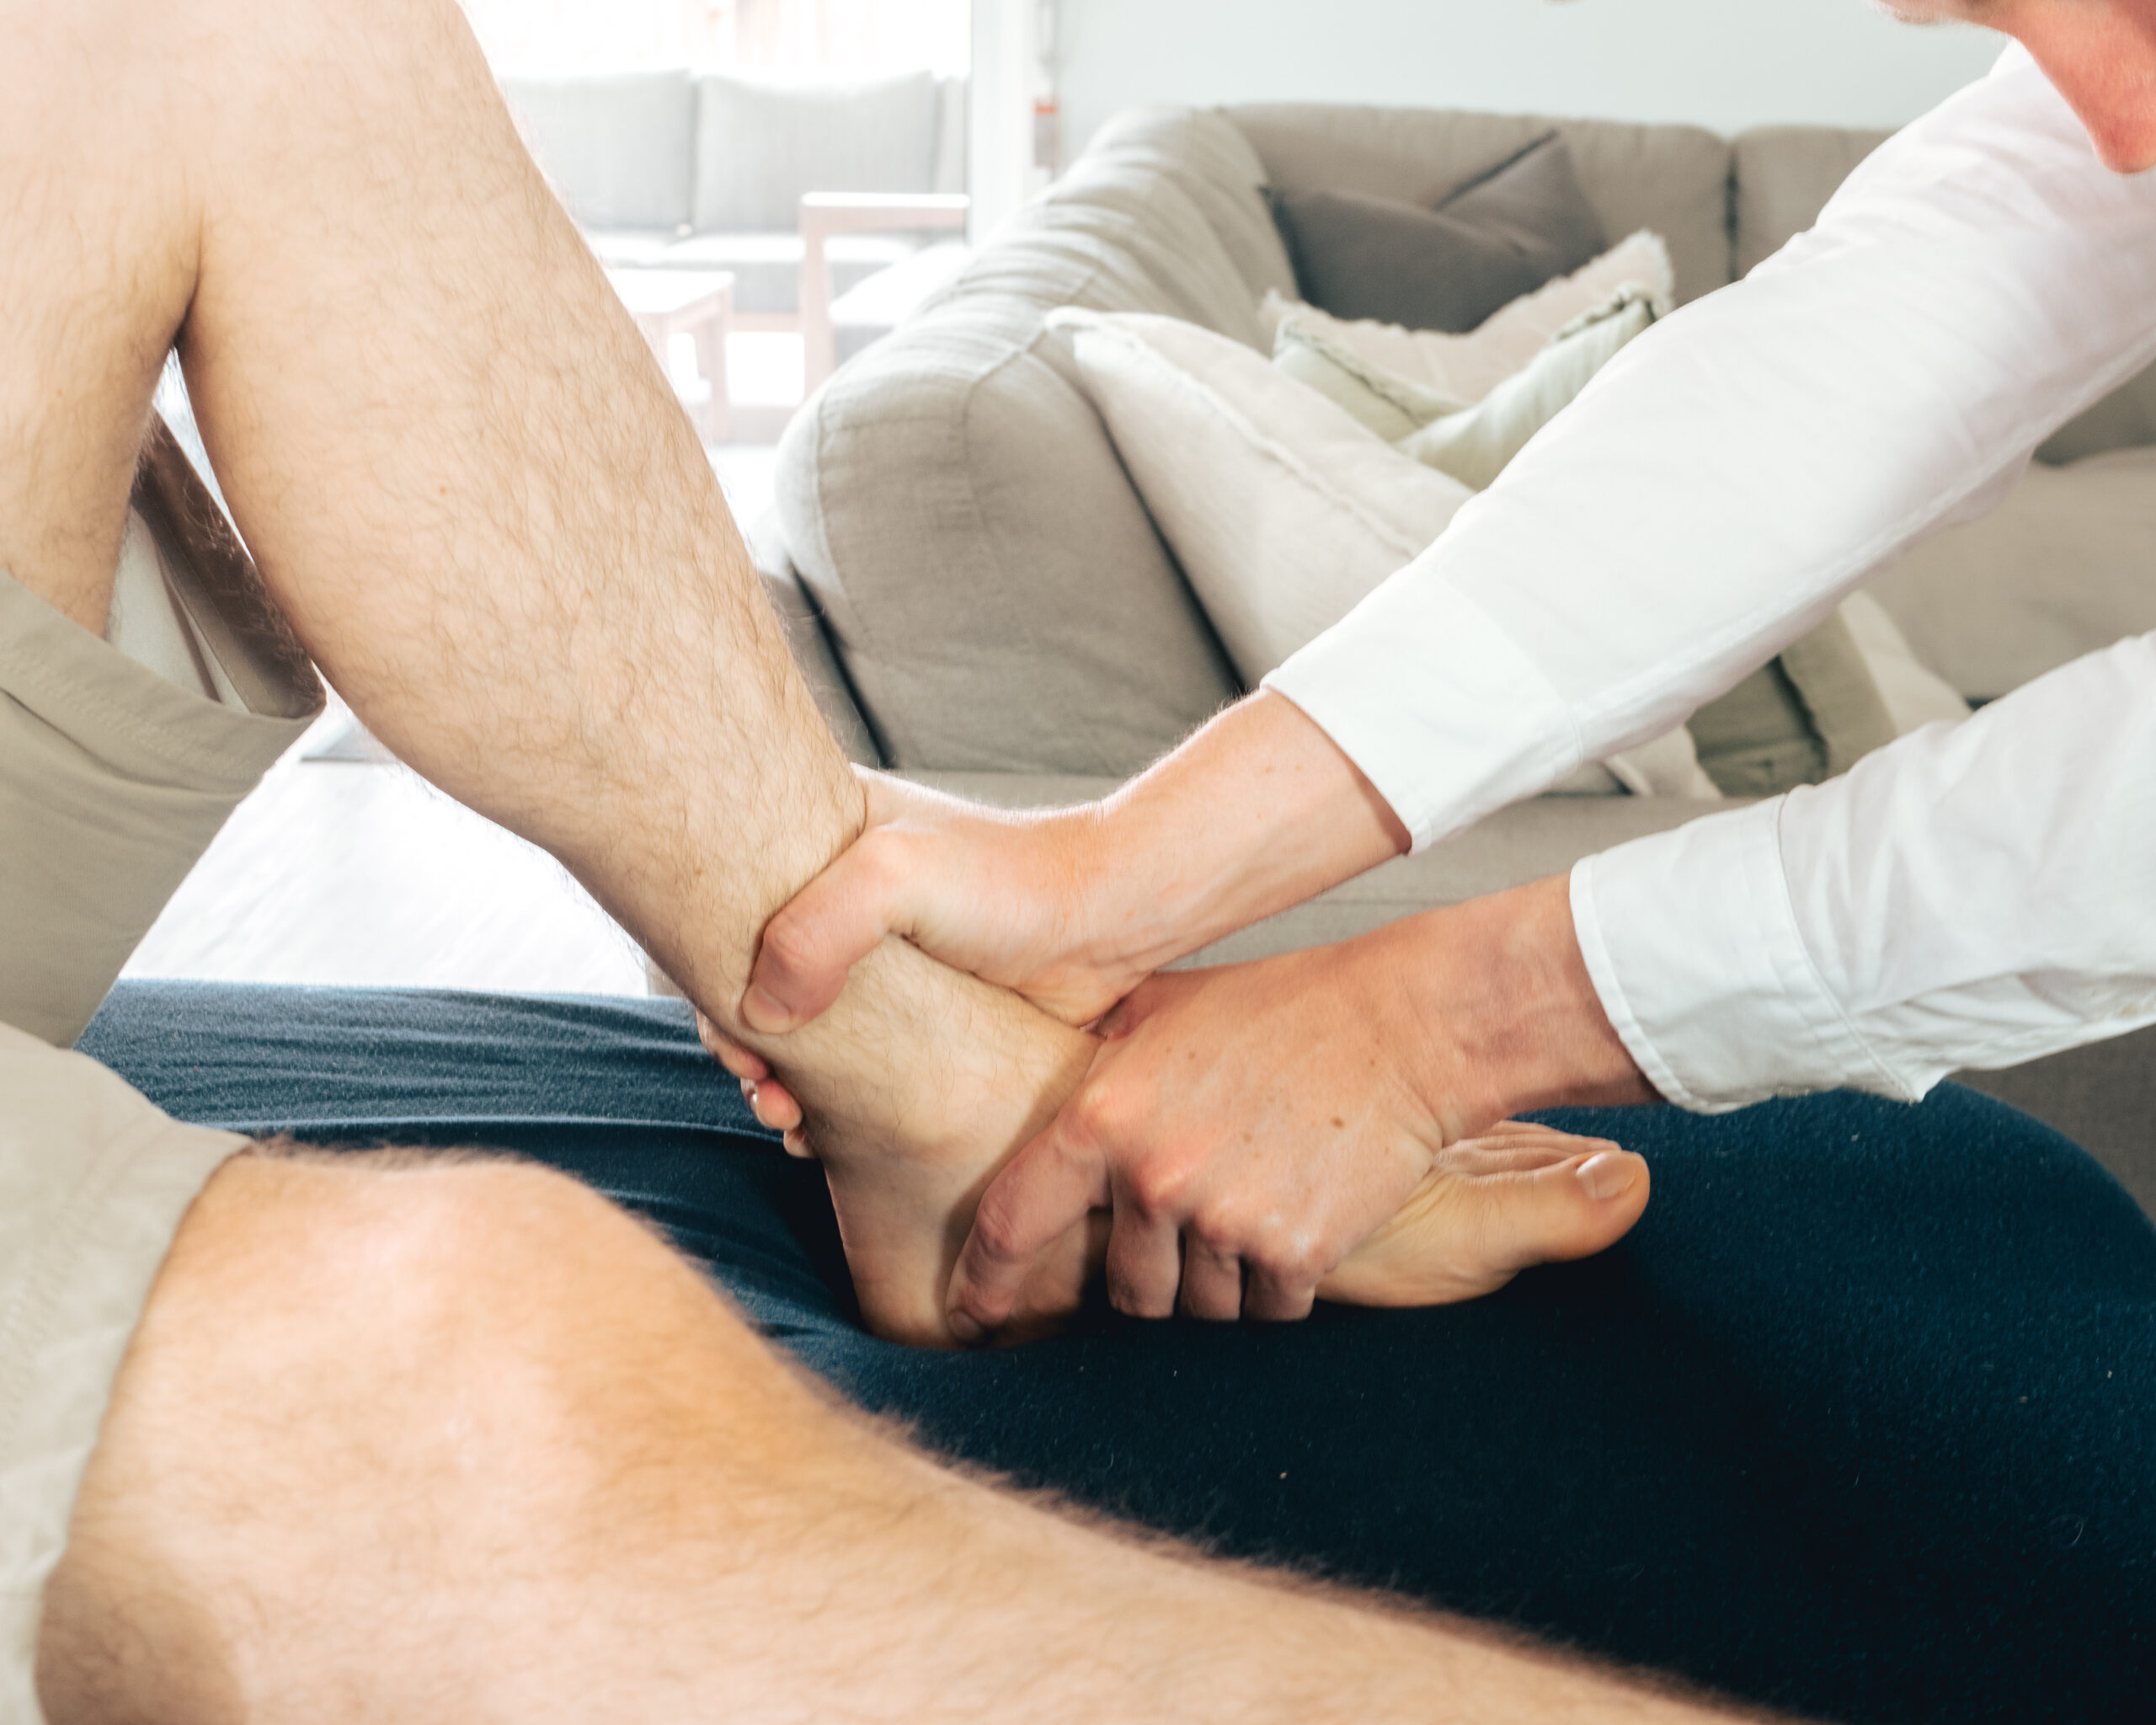
Physiotherapist treating a client's foot and ankle

Ankle Joint Anatomy

The ankle joint is a synovial joint that connects the bones of the leg (tibia and fibula) with the talus bone of the foot. It is a complex joint that allows for dorsiflexion (toes point up), plantarflexion (toes point down), inversion (toes turn inward), and eversion (toes turn outward).

The ankle joint is formed by the following bones:
Tibia: The larger and stronger of the two lower leg bones, which forms the inside part of the ankle.
Fibula: The smaller bone of the lower leg, which forms the outside part of the ankle.
Talus: A small bone between the tibia and fibula and the calcaneus, or heel bone.

The articulating surfaces of the ankle joint are covered with hyaline cartilage, which helps to reduce friction and wear and tear on the joints. The joint capsule is a thin layer of tissue that surrounds the joint and helps to keep it in place. The ankle joint is also innervated by nerves from the tibial nerve, which provide sensation to the joints and allow them to move.
Diagram of the ligaments on the outside of the ankle

The ligaments supporting the ankle joint are divided into three groups:

Lateral ligaments: These ligaments prevent the foot from rolling outward. They include the anterior talofibular ligament, the posterior talofibular ligament, and the calcaneofibular ligament.

Deltoid ligament: This ligament is the strongest ligament in the ankle joint. It prevents the foot from rolling inward and outward.

Syndesmotic ligaments: These ligaments connect the tibia and fibula and help to stabilize the ankle joint.

The lateral ligaments are the most commonly injured ligaments in the ankle joint. This is because they are the most vulnerable to injury when the foot rolls outward. The deltoid ligament is less commonly injured, but it can be injured if the foot rolls inward. The syndesmotic ligaments are rarely injured.

A more detailed explanation of the ligaments is as follows:
Lateral ligaments:
Anterior talofibular ligament: This ligament runs from the anterior (front) part of the fibula to the talus. It prevents the foot from sliding forward.
Posterior talofibular ligament: This ligament runs from the posterior (back) part of the fibula to the talus. It prevents the foot from sliding backward.
Calcaneofibular ligament: This ligament runs from the fibula to the calcaneus. It prevents the foot from rolling outward.
Deltoid ligament: This ligament is fan-shaped and runs from the tibia to the talus and calcaneus. It helps to stabilize the ankle joint in all directions.
Syndesmotic ligaments: These ligaments are located between the tibia and fibula. They help to keep the tibia and fibula in alignment and prevent them from separating.
Diagram of the ankle ligaments from the inside and outside

The muscles supporting the ankle joint are divided into four groups:

Dorsiflexors: These muscles move the foot upward. They include the tibialis anterior, the extensor hallucis longus, the extensor digitorum longus, and the peroneus tertius.
Plantarflexors: These muscles move the foot downward. They include the gastrocnemius, the soleus, and the tibialis posterior.
Invertors: These muscles turn the foot inward. They include the tibialis posterior, the flexor hallucis longus, and the flexor digitorum longus.
Evertors: These muscles turn the foot outward. They include the peroneus longus and the peroneus brevis.

The muscles of the ankle joint are important for controlling the movement of the foot and for maintaining the stability of the ankle joint. If the muscles are weak or injured, it can lead to pain, swelling, and instability in the ankle joint.

Here is a more detailed description of each group of muscles:

Dorsiflexors:
Tibialis anterior: This muscle is located on the anterior (front) of the leg. It is the main dorsiflexor of the foot and helps to raise the toes.
Extensor hallucis longus: This muscle is located on the lateral side of the leg. It is responsible for extending the big toe.
Extensor digitorum longus: This muscle is located on the lateral side of the leg. It is responsible for extending the other toes.
Peroneus tertius: This muscle is located on the lateral side of the leg. It helps to dorsiflex and evert the foot.

Plantarflexors:
Gastrocnemius: This muscle is located on the posterior (back) of the leg. It is the largest muscle in the calf and is responsible for plantarflexion of the foot.
Soleus: This muscle is located on the posterior (back) of the leg. It is the second largest muscle in the calf and helps to plantarflex the foot.
Tibialis posterior: This muscle is located on the posterior (back) of the leg. It helps to plantarflex, invert, and stabilize the ankle joint.

Invertors:
Tibialis posterior: This muscle is located on the posterior (back) of the leg. It helps to invert and stabilize the ankle joint.
Flexor hallucis longus: This muscle is located on the posterior (back) of the leg. It is responsible for flexing the big toe and helps to invert the foot.
Flexor digitorum longus: This muscle is located on the posterior (back) of the leg. It is responsible for flexing the other toes and helps to invert the foot.

Evertors:
Peroneus longus: This muscle is located on the lateral side of the leg. It is the main evertor of the foot and helps to stabilize the ankle joint.
Peroneus brevis: This muscle is located on the lateral side of the leg. It helps to evert the foot and stabilize the ankle joint.
Diagram of the muscles and tendons of the lower leg and foot

Ankle Sprain Subjective Assessment

Ankle sprains, whilst looking quite common and benign, are often more complex than meets the eye. A thorough subjective examination is often necessary to tease out any contributing factors to the injury. Determining the mechanism of injury is crucial in being able to provide a provisional diagnosis and treatment plan.

What Happened?

As with any other acute injury, I want to know as much as you can remember about how it happened. The more detail you can give me, the better. Understanding the mechanism of injury and whether it was a contact, indirect contact, or a non-contact injury is a key factor in developing an injury prevention plan. It’s also the first step in helping me determine what structures may be involved in your injury. Some clients may feel as though the injury happened “too quickly” to recall what happened with their ankle. In these instances, I often like to run through what you were doing when the injury occurred, for example, changing direction, or jumping for a contested ball. This can often give us a good idea of how the injury occurred.

What did you feel?

Your symptoms and what you felt at the time of the injury and in the 24 hours following it is often the next discussion point. Whether you had swelling and bruising start along with how quickly it occurred is a crucial piece of information. Then understanding the pain and how it develops and behaves throughout the day. Some clients feel stiffness in their ankle in the morning and an achy sensation by the end of the day, while others feel sharp pains only during activity. Every ankle sprain is different and we should treat and assess them each one individually.

Any Strange Feelings?

The question I always ask about is sensations of looseness, giving way, instability, or a feeling of the ankle being about to roll during day-to-day life. If you experience these symptoms during normal activities and have a history of ankle sprains, it could indicate chronic ankle instability, not just a regular sprain. We should manage these differently and it is not a symptom to take lightly.

Injury History

Last but not least is injury history. I need to know if you’ve suffered an ankle sprain before, and if so, how many times and how recently did the last one occur? After that, we’ll discuss what you did in terms of rehabilitation and strengthening work. This gives me an idea of the previous baseline level of your ankle. Clients tend to stop progressing once they're back to training. Unfortunately, you're likely only 75% of the way through your journey. Getting back to competitive gameplay requires greater levels of strength, endurance, and mobility of the ankle than training can typically provide. An ongoing injury prevention program is vital for athletes, particularly those with a history of ankle injuries.

Ankle Sprain Objective Assessment

An accurate and targeted objective assessment is crucial in determining an accurate diagnosis as well as return to sport and activity timelines. Specific isolated assessments for the ligamentous structures and surrounding muscles and joints is of upmost importance.

Ottawa Ankle Rules

For an acute ankle sprain, the first and most routinely applied assessment for ankle sprains is applying to Ottawa Ankle Rules. These are a set of rules and tests used to determine whether a fracture around the ankle is likely. This testing battery is highly sensitive, but not very specific. What that means is that they will pick up a lot of fractures, but may also pick up a lot of things that aren’t. If you are returning positive tests on this testing battery, your best course of action is to get an x-ray, which I can refer for. It’s easier to manage a fracture earlier on and reduce weight bearing as needed rather than getting 4 weeks in and we both are sitting there wondering why things aren't responding the way we think they should be.

Range of Motion and Ligament Tests

I'll check your ankle more closely by comparing how far you can move it yourself versus how far I can move it for you. These are known as active range of motion, and passive range of motion respectively. By finding the difference and identifying the limitation, we can understand the cause of your symptoms. The next step will be to perform specific ligament stress tests. For a lateral ligament sprain, I will perform a test for the ATFL (anterior drawer test) and for the CFL (talar tilt test). These tests assess the integrity of the ligaments and assess for laxity and pain reproduction.

Isometric Tests

Isometric assessment of muscles is often my next step in the assessment. Often I will perform an isometric assessment for ankle inversion, eversion and dorsiflexion on the treatment table. I will also assess calf function and plantarflexion while standing by asking you to perform calf raises. These tests are adequate at picking up potential muscle strains or if there may be potential tendon involvement in the injury. By combining a manual muscle test, I compare both sides of the muscles to check for hesitancy to contract the muscles and any strength deficits.

Functional Assessment

The functional aspect of the assessment I commonly perform last. Whilst some may argue it’s the most important, in the initial assessment, I want to minimise any irritation of symptoms from functional testing, making the diagnostic process more difficult. The functional portion of the assessment will consist of a few different functions, including walking, calf raises, single leg balance, squats, jumping, hopping, running, etc. The level of assessment that we work up to is highly individual and dependent upon symptoms and irritability. Most times, we won’t be assessing higher load activities such as hopping on the first assessment.

Steps to Success for Rehabbing an Ankle Sprain

Hands On Treatment

There are a few key puzzle pieces to optimising the rehabilitation of an ankle sprain. Number one on just about every physiotherapist’s list should be improving and normalising ankle dorsiflexion range of motion. Ankle dorsiflexion is the capacity for your knee to go over your toes and flex through the front of the ankle joint. Without this movement capacity, running becomes a lot more difficult, as does the certain change of direction manoeuvres. You can improve this mobility in various ways. To determine the best approach, you can undergo a knee-to-wall assessment. It will help us identify the areas that need improvement by feeling the stiffness or restriction. I often observe that clients have restrictions in their calf muscles and ankle joints. However, sometimes, clients may have anterolateral restriction caused by the lateral malleolus. Therefore, some clients may require specific work to the lateral malleolus. For many people, a range of joint mobilisations and soft tissue release coupled with a targeted flexibility and mobility program will get the results you need.

The next key is to get rid of any swelling around the ankle joint ASAP. Hands-on techniques work really well when coupled with strategies like compression and elevation. You should use compression to reduce swelling around the ankle joint and elevate and massage the area to get rid of any existing swelling. The massage to reduce swelling doesn’t need to be hard. All we are trying to do here is simply mobilise the swelling up and out and away from the ankle.

Ankle Sprain Exercises

Everyone always loves a physio prescribed exercise program. I know every client loves it. They always tell me how much fun it is. Optimising your movement strategies, muscle strength and endurance, and joint range of motion and muscle flexibility are key to returning to sport successfully. If you cannot return these factors to baseline or above, you will simply increase your risk profile. The other strategy that we need to optimise is balance. Often I hear of everyone balancing with their eyes open and eyes closed, but nobody ever really does that in the real world, do they? We need the ankle to be able to operate autonomously and re-correct while performing a movement task and simultaneously having mental stimulation. The later stages of where I progress my balance rehabilitation to is to be balancing on one leg and throwing or kicking a ball whilst counting down from 100 by a certain number. This provides both a sport-specific physical task along with mental stimulation to remove any conscious thought to the ankle joint and encourage it to operate autonomously.

Ankle Sprain Taping

I can use taping in a variety of ways in different stages of management. Some physios may utilise a taping technique to help get rid of the swelling, others may utilise taping as a way of stabilising the ankle joint in the early stages and allowing the healing of the ligament to improve, others may utilise strapping to allow the foot to take more load and reduce forces at the ankle joint. Whichever way you choose to go is completely up to the physio and the client as none of these management strategies are wrong, it just comes down to which strategy will work best for that client and their presentation. I often advise athletes to use taping or ankle braces during the final stages of their recovery to reduce the risk of re-injury when returning to training and sports.

Your Questions About Ankle Sprains

Is my ankle broken or sprained?

It can be hard to tell, because both cause pain, swelling and bruising. Clinicians use a set of guidelines called the Ottawa Ankle Rules to decide who needs an x-ray. You are more likely to need one if you could not take four steps on the ankle straight after the injury or when first assessed, or if there is tenderness over specific points on the ankle bones or the outside of the foot. If any of these apply, I will refer you for an x-ray. If not, a fracture is unlikely and we can start rehab straight away.

What is a high ankle sprain?

A high ankle sprain is an injury to the ligaments that hold the two lower leg bones together just above the ankle, called the syndesmosis. It usually happens when the foot is forced to turn outwards, which is common in contact sports. Pain is felt higher up the front of the ankle, and twisting or pushing off often hurts more than with a typical sprain. High ankle sprains usually take longer to recover from, and more severe ones sometimes need a specialist review, so getting the right diagnosis early is important.

When can I play sport again after a sprain?

It depends on the severity of the sprain and your sport. Mild sprains often allow a return within one to three weeks, while more severe sprains can take six weeks or more. Rather than relying on time alone, I look for full range of motion, good balance on the injured leg, strength similar to the other side, and the ability to hop, run, cut and land without pain or apprehension. Completing a full training session before a game is my minimum. Taping or bracing for the first season back also helps reduce the chance of another sprain.

Why does my ankle still feel unstable months later?

Ongoing instability after a sprain is common, and it is called chronic ankle instability. It usually happens when the ligaments have stretched and, more importantly, when balance, reaction time and strength have not been fully restored. The ankle then gives way or feels wobbly on uneven ground and is prone to more sprains. The good news is that a targeted program of balance, strength and agility work helps most people. If instability continues despite good rehab, a referral to a specialist to discuss other options may be worthwhile.
Physiotherapist applying dry needling to a client's leg

Do you need an ankle scan?

Probably not in most cases. The most common reason to need a scan is to determine whether there is a fracture present which is often easily identifiable in the early stages, I think there has only been one ankle fracture in my career so far that hasn’t been picked up on an x-ray. So the chances of missing it are pretty slim. The Ottawa Ankle rules, as we’ve mentioned, are really quite good at picking up potential fractures and referring them on.

The next reason that some clients may go for a scan is to confirm their diagnosis. Often they will go for an ultrasound to assess ligament integrity as well as assess tendon structures. Personally, not a huge reason for me to go spend the money on something that is incredibly unlikely to change your treatment plan.

The cases where I think it may be useful to go for either an MRI or ultrasound are if something just isn’t responding the way we expect it to. More often than not things make sense in physio, it’s when something doesn’t that we as clinicians have to sit down and think whether there is a piece of the puzzle we are missing.

Returning to Training and Sport Post Ankle Sprain

Every athlete’s goal is always to get back to training and back to playing competitive games as quickly as possible. I get it, athletes are naturally competitive people who want to be out there being a part of the team and helping them put wins on the board. But sometimes, it may be smarter to hold back a touch than it is to go racing off as quickly as possible. Most ankle sprains I find take at least two weeks or longer, depending on the type of injury we are dealing with.

For a return to training the benchmarks, I like people to be hitting include:
Hopping on the spot
Hopping forwards
Lateral hopping
Knee to wall 10cm

Returning to training should then be a graded process. Of course, when I’m talking about returning to training, I’m talking about working back into gameplay scenarios. Prior to this, you can and should do some sport-specific work on your own. Often on initial return to gameplay training, I would look to have either ankle strapping or a brace in place.

Returning to sport is the bigger decision. Some people view this as a very black-and-white decision, but unfortunately, I think there is a lot more to it than just “can you return to sport?” I often think of it as a risk:reward scenario, how risky is the decision vs what is the potential reward? If it’s early in the season, I may often tend towards giving someone an extra week off if I think they will be better off for it. Whereas if it’s the semi-final, it’s a do-or-die, the risk is higher, but so is the reward for the athlete. Ultimately, the choice isn’t solely mine. I must also consult the athlete and the coach to ensure they are on board with the decision and happy to play with whatever risk may be there.
Footballers competing for the ball during a local match

Ankle Strapping vs Ankle Brace

Probably the most common question I get asked by clients who’ve suffered an ankle sprain is “should I tape it or buy a brace?”. Personally, I don’t find there’s a vast difference in the overall result, with the result being preventing future injuries. Personally, I find it is much more of a comfort decision. I find taping much more comfortable than a brace because of the somewhat bulky nature of braces. I also find that taping can be personalised a lot easier with varying amounts of tension and angles that the tape can ensure the athlete feels secure.

Often I find the reason athletes or parents opt for a brace is purely and simply the ease of them. It is much easier to slip on a brace, tighten two velcro straps and do up some laces. It's much easier I completely agree, but I feel there should be more to the decision than just “how can I make my life easier?” when we are talking about the prevention of injuries.

It is a personal decision though, and neither is wrong. Both have shown positive effects regarding reducing future injury risk. As long as you are choosing one that you are comfortable with and you will use, I’m happy.

Ankle Sprain FAQs

It depends on the grade. A mild (grade 1) sprain usually settles within 1 to 3 weeks, a moderate (grade 2) sprain within 3 to 6 weeks, and a severe (grade 3) sprain can take 3 months or more. Ligaments keep strengthening for months after the pain goes, which is why finishing your rehab matters even when the ankle feels fine.

If you can walk on it comfortably, gentle walking is usually good for it. If you could not take four steps straight after the injury, or there is tenderness over specific points of bone, you may need an X-ray to rule out a fracture. I use the Ottawa Ankle Rules to decide this and can refer you for an X-ray if needed.

In the first couple of days, ice, compression and keeping your foot elevated can help with pain and swelling. Avoid heat on a freshly sprained ankle, as it can increase swelling. After the first few days, getting the ankle moving and strengthening it does far more for your recovery than either ice or heat.

A previous sprain is the biggest risk factor for another one, so finishing your rehab is the best protection. Balance exercises and strengthening for your calf and the muscles on the outside of your lower leg reduce your risk significantly. Taping or a brace for your first few months back at sport can help as well.

Each consultation is 45 minutes and costs $110, for both your first appointment and follow-ups. Dry needling, taping and exercise bands are included at no extra cost. If you need a longer course of rehab, my 3, 6 and 12 week rehabilitation programs work out cheaper than paying per session.

Yes. You can claim a rebate from your health fund for every session. PRP Physio is not a preferred provider for any fund, so your rebate may be slightly smaller than at a preferred provider. Your fund can confirm the exact amount using item code 500 for your first consultation and 505 for follow-ups.

Yes, if you sprained your ankle at work or while travelling for work. Your GP starts the claim and gives you a WorkCover certificate, which acts as your referral. Once your claim is accepted, I bill WorkCover directly, so there are no out-of-pocket costs for you. WorkCover covers your first five sessions, and I speak with your case manager if you need more.

Mobile Physio: Get in Touch

I'm ready to book online now

For those who are ready to book an appointment right now, let's get started on your journey back to sport!

Just hit the button below and it will take you straight to an online booking platform. You will just have to enter a few details and it will all be booked in for you!

I'd rather have a conversation first

Some injuries are complex, should you see a GP first, should you go get a scan, is a physio even the right person to see? Sometimes a 10 minute conversation can be enough to answer some of these questions.

Just submit a contact form on the link below and I'll give you a call ASAP and we can chat through a few things to get you moving in the right direction!
© 2026 PRP Physio. All rights reserved.